Start with the six-minute walkthrough, then dip into the short videos — one feature each, from adding your logo to reordering. Every short video has its own page with the steps written out.
Tutorial 1
Designing your greeting card.
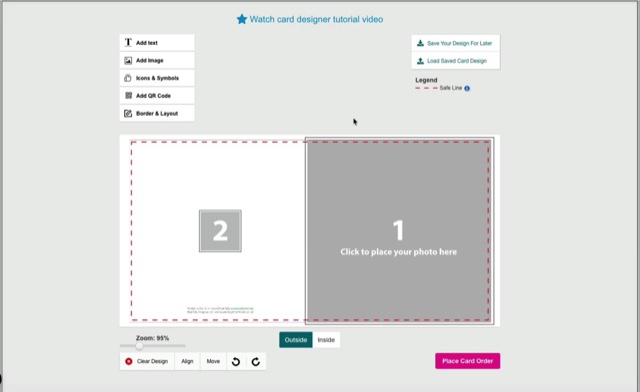
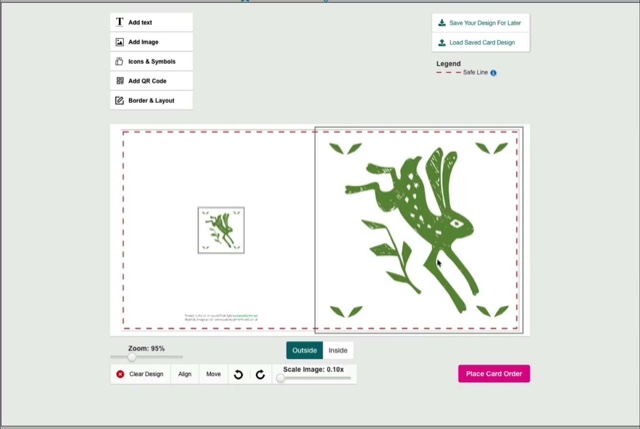
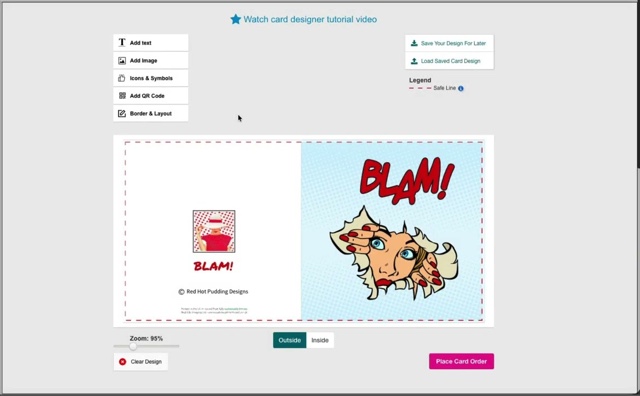
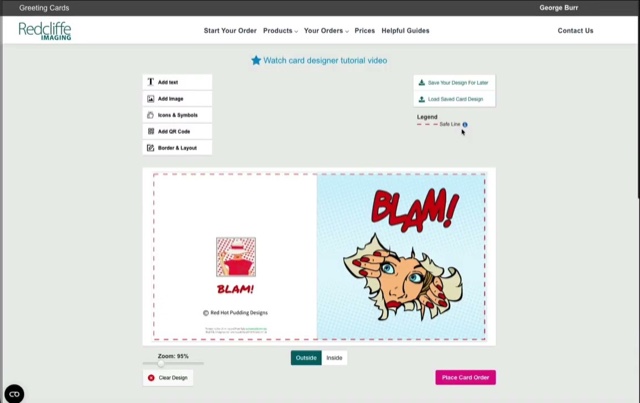
Sign in, choose a card size, upload your image and add your text — you see exactly how the card will print before you order. This full walkthrough covers every part of the designer from start to finish; the shorter videos below each cover one feature on its own.
Getting started · the full walkthrough · 5 min 52 sec
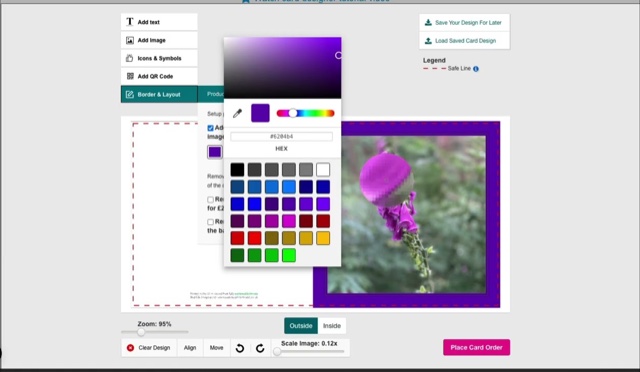
The walkthrough uses the eyedropper, which appears in Chrome and Edge on a computer; in other browsers and on phones use the palette, the slider or the HEX box.
Tutorial 2
Sign in to your account.
Sign in to manage your image files, save and view card designs, and see every card you’ve ordered. It makes reordering so much easier — every order you place while signed in is kept in your account automatically. You can carry on as a guest, but uploaded images, saved designs and past orders are only kept when you’re signed in.
Uploading an image is straightforward. You can use JPG, PNG, TIFF, SVG, PDF, HEIC, WEBP, JPEG-XL and AVIF files. For the sharpest print, upload the original full-size file — screenshots and pictures sent through WhatsApp or other messaging apps are usually compressed and can print soft. We display and print in sRGB, which most cameras and phones use by default, so there’s nothing extra to do.
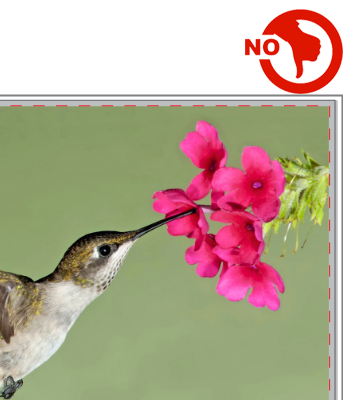
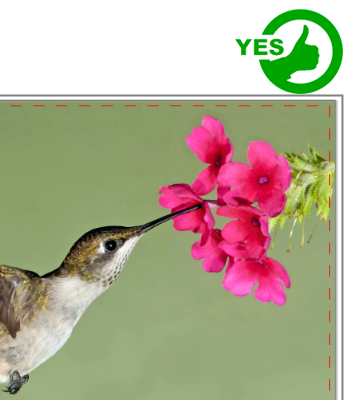
For a full-bleed picture, let the image run slightly outside the red dotted line. When the card is trimmed there’s then no unsightly pale edge.
Not like this — the image stops inside the line, so the trimmed card will have an edge.Like this — the image runs past the line, so it prints edge to edge.
Tutorial 4
Using your image gallery.
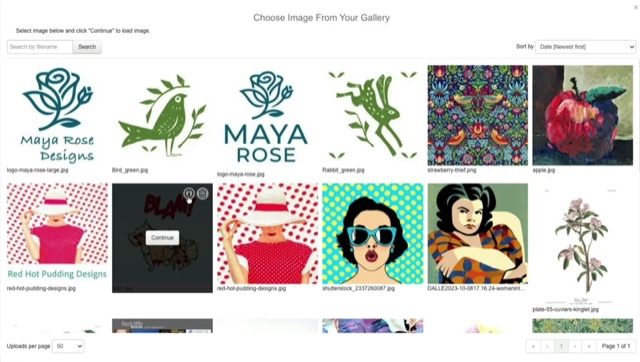
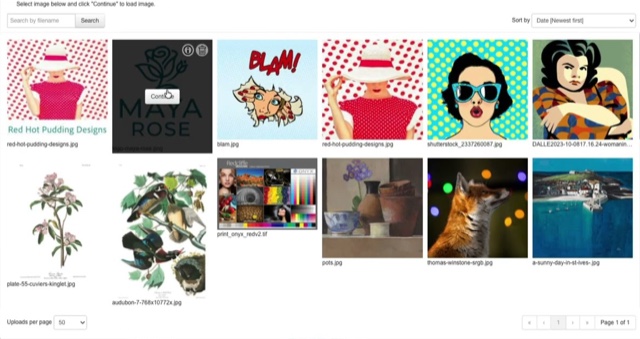
Every image you upload is saved to your gallery. Click Add Image and you can Choose from Your Gallery — handy for using the same picture across several card sizes without uploading it again, and a good place to keep your logo or anything else you reuse. Click the small i on any image to see every card design and fine art print order it’s been used in. If you also use our fine art print service, it’s the same gallery.
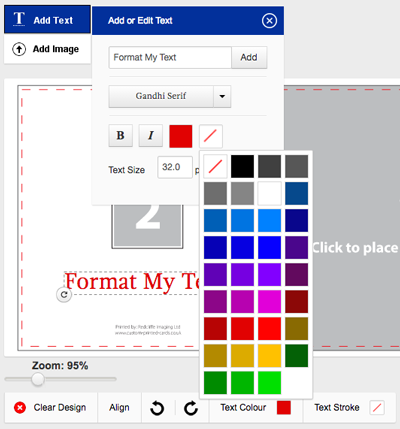
Click Add Text to add a line of text to the card. Choose from a range of fonts, make it bold or italic, change the colour, add an outline stroke, and scale it to any size. You can add text to the inside of the card too.
One line of text at a time — don’t paste in a large block
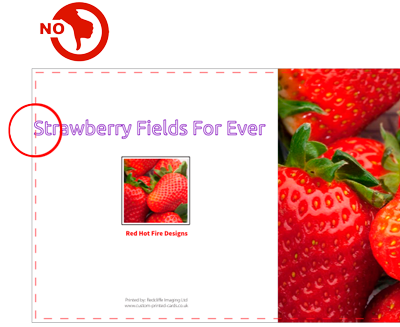
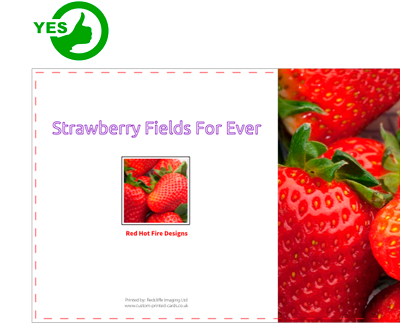
Keep text inside the red dotted safe area
Copyright symbol: Alt + 0169 on a PC (numeric keypad), Option + G on a Mac
Keep your text inside the safe area
The safe area is the red dotted line. Anything outside it may be trimmed off.
Not like this — “Strawberry” crosses the line and could be cut.Like this — the text sits inside the line and prints in full.
Tutorial 6
Adding a custom border colour.
Choose any colour for the border of your greeting card. Pick from the preset palette or the colour slider, or use the eyedropper to take a colour straight from your image so the border matches your artwork exactly.
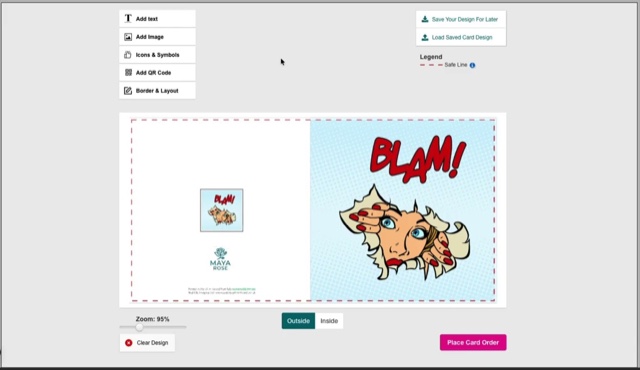
Add your own logo or brand image to the back of your card. Use Add Custom Logo to place it anywhere, resize it, and use the align tool to centre it precisely. Then add text, icons, symbols or a QR code to complete the back.
Change the thumbnail image on the back of your card — choose one from your image gallery, upload a new image, or reuse one from a previous design. You can also remove or restore the black keyline border in the Border and Layout settings.
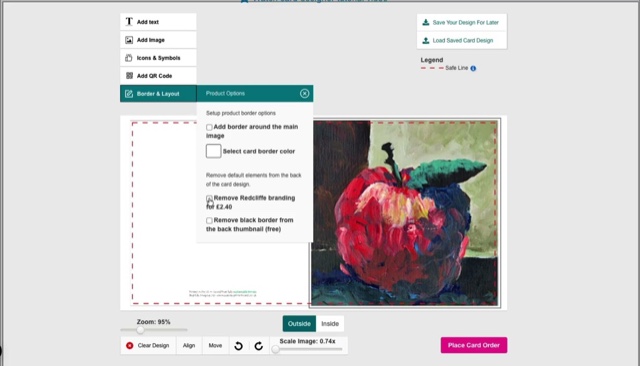
Every card made in the designer carries two small lines on the back: “Printed in the UK on board from fully sustainable forests” and “Redcliffe Imaging Ltd • www.custom-printed-cards.co.uk”. For a clean back with only your own details, open Border and Layout and tick Remove Redcliffe branding — the whole text is removed for a one-off £2.40 per design, and that design stays brand-free on every reorder.
Click Save Your Design For Later to keep a card in your account and come back to it another time. It’s also the way to make a template — your details and logo set up once, ready for each new picture. Saved designs are kept for a year.
Every order placed while you’re signed in is saved to your account, so reordering takes a couple of clicks — no need to build the card again. Open Your Orders & Designs to see completed orders and saved designs together, open any of them in the designer to make changes, or go straight to reorder. Lots of them? Search by Order ID or Design ID.
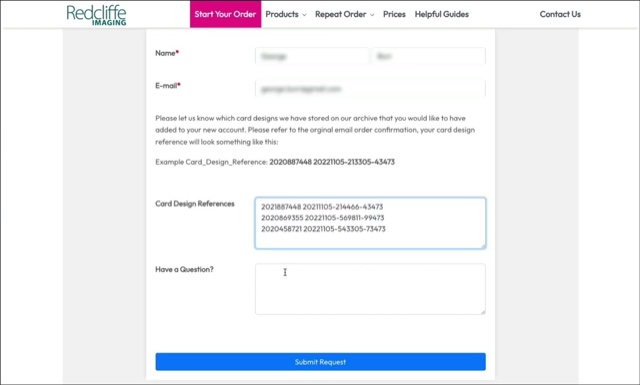
Ordered a card before 16 May 2023? It’s in our old archive. Click Request Card Design from Archive on the previous orders page, enter the design references you need — or ask us to add all of your archived designs — and we’ll upload them to your account. Request your archived designs.
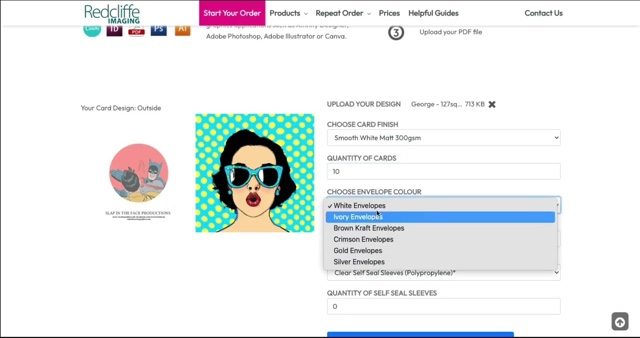
Already designing in Affinity, Photoshop, Illustrator, InDesign or Canva? We print greeting cards, postcards, bookmarks and business cards straight from your print-ready PDF. Download the artwork guide for your size, set up at actual size at 300 dpi with 2mm bleed, and save a press-quality PDF. For printing inside the card, send one two-page PDF — outside on page one, inside on page two.