
How to Customise the Back of Your Greeting Card
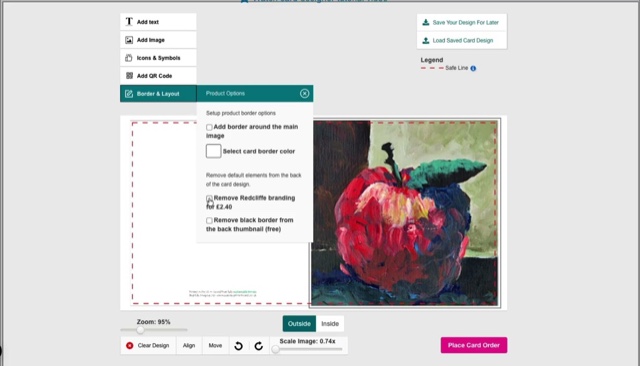
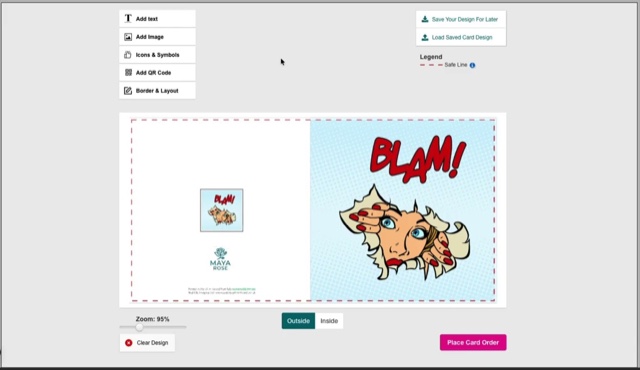
The back of the card is yours too. This video shows how to change the small thumbnail image — from your gallery, a new upload or a previous design — and how to switch the black keyline border off or back on.
Start Designing Your CardThe steps, written out.
Prefer to read? Here is everything the video covers, in order.
Turn the card over
Switch to the back of the card in the designer.
Change the thumbnail
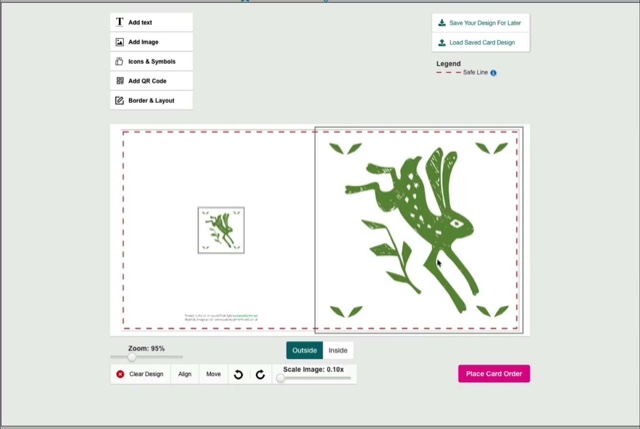
Click the thumbnail image and choose a replacement from your gallery, upload a new one, or reuse one from a previous design.
Keyline border
Open Border & Layout to remove the black keyline border, or put it back.
Check the layout
Make sure your text, logo and thumbnail all sit inside the red dotted safe area.
Carry on
Add text or a QR code, then choose your stock and quantity.
Video transcript.
The written transcript for this video is on its way. In the meantime the steps above cover everything it shows.
Ready to try it?
Open the card designer and try it on your own artwork, or head back for the rest of the tutorials.