
How to Add a Logo to Your Greeting Card Design
Your logo on the back of every card turns it into a small piece of marketing. This video shows how to add a logo or brand image, move it anywhere on the back, resize it, and centre it exactly with the align tool.
Start Designing Your CardThe steps, written out.
Prefer to read? Here is everything the video covers, in order.
Turn the card over
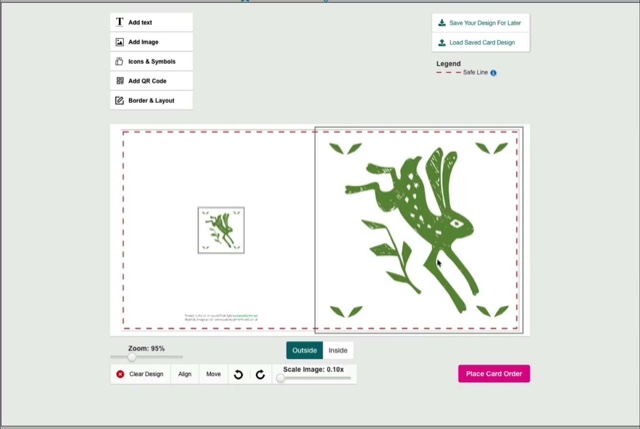
Switch to the back of the card in the designer.
Add your logo
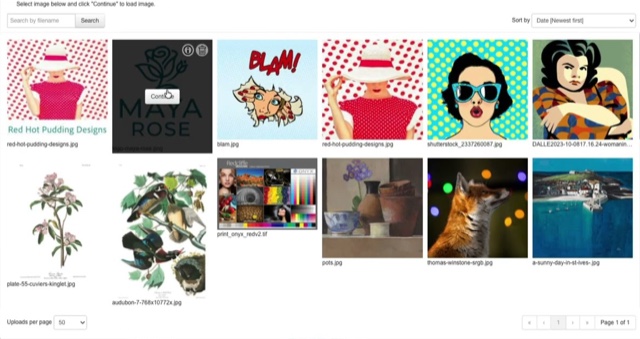
Click Add Custom Logo and upload it, or choose it from your image gallery if you’ve used it before. PNG or SVG with a transparent background works best.
Place and resize
Drag it where you want it and resize with the corner handles.
Centre it
Use the align tool to centre the logo precisely.
Finish the back
Add your name, website or a QR code alongside it.
Video transcript.
The written transcript for this video is on its way. In the meantime the steps above cover everything it shows.
Ready to try it?
Open the card designer and try it on your own artwork, or head back for the rest of the tutorials.