
How to Add an Image to Your Greeting Card Design
Your image is the heart of the card. This video shows how to upload a photo, artwork or logo, which file types the designer accepts, why the original full-size file prints better than a screenshot or a messaging-app copy, and how to put a different image or your logo on the back of the card.
Start Designing Your CardThe steps, written out.
Prefer to read? Here is everything the video covers, in order.
Click Add Image
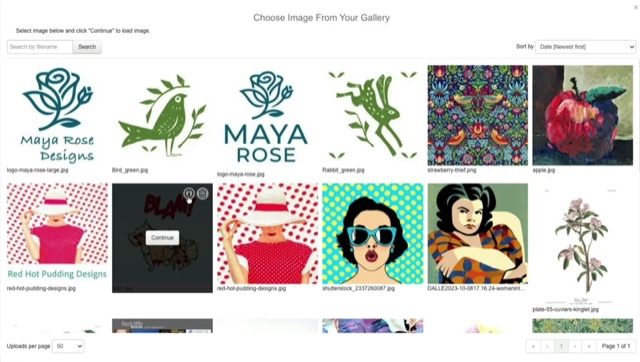
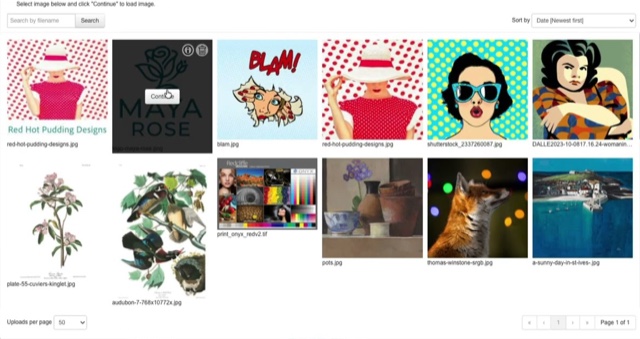
Upload a new file, or choose one you’ve used before from your image gallery.
Use the original file
JPG, PNG, TIFF, SVG, PDF, HEIC, WEBP, JPEG-XL and AVIF all work. Send the full-size original — not a screenshot or a copy that’s been through WhatsApp or Messenger, which are compressed.
Place it on the card
Drag to position and resize. For an edge-to-edge picture, let it run slightly outside the red dotted safe area so there’s no pale edge after trimming.
Add an image to the back
Use Add Image on the back of the card for a thumbnail of your work or your logo.
Carry on designing
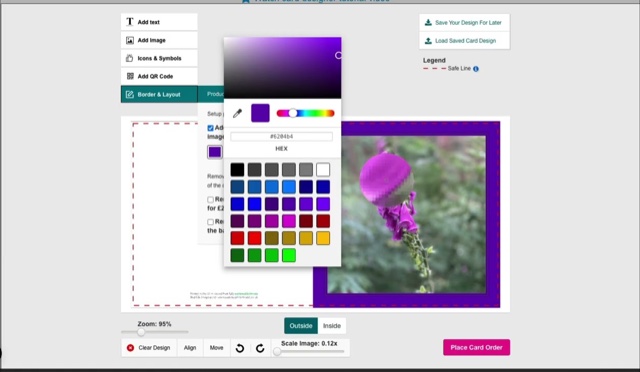
Add text, a border, icons or a QR code, then choose your card stock and quantity.
Video transcript.
The written transcript for this video is on its way. In the meantime the steps above cover everything it shows.
Ready to try it?
Open the card designer and try it on your own artwork, or head back for the rest of the tutorials.